


If you’re enjoying this newsletter, please consider becoming a paid subscriber. It’s only $24 a year.
I have a 6-inch Match Coconut Cream Burnt Basque Cheesecake $40 and a 6-inch regular Burnt Basque Cheesecake $32 available for pick up today, text me at 614-975-1712 to secure the order.
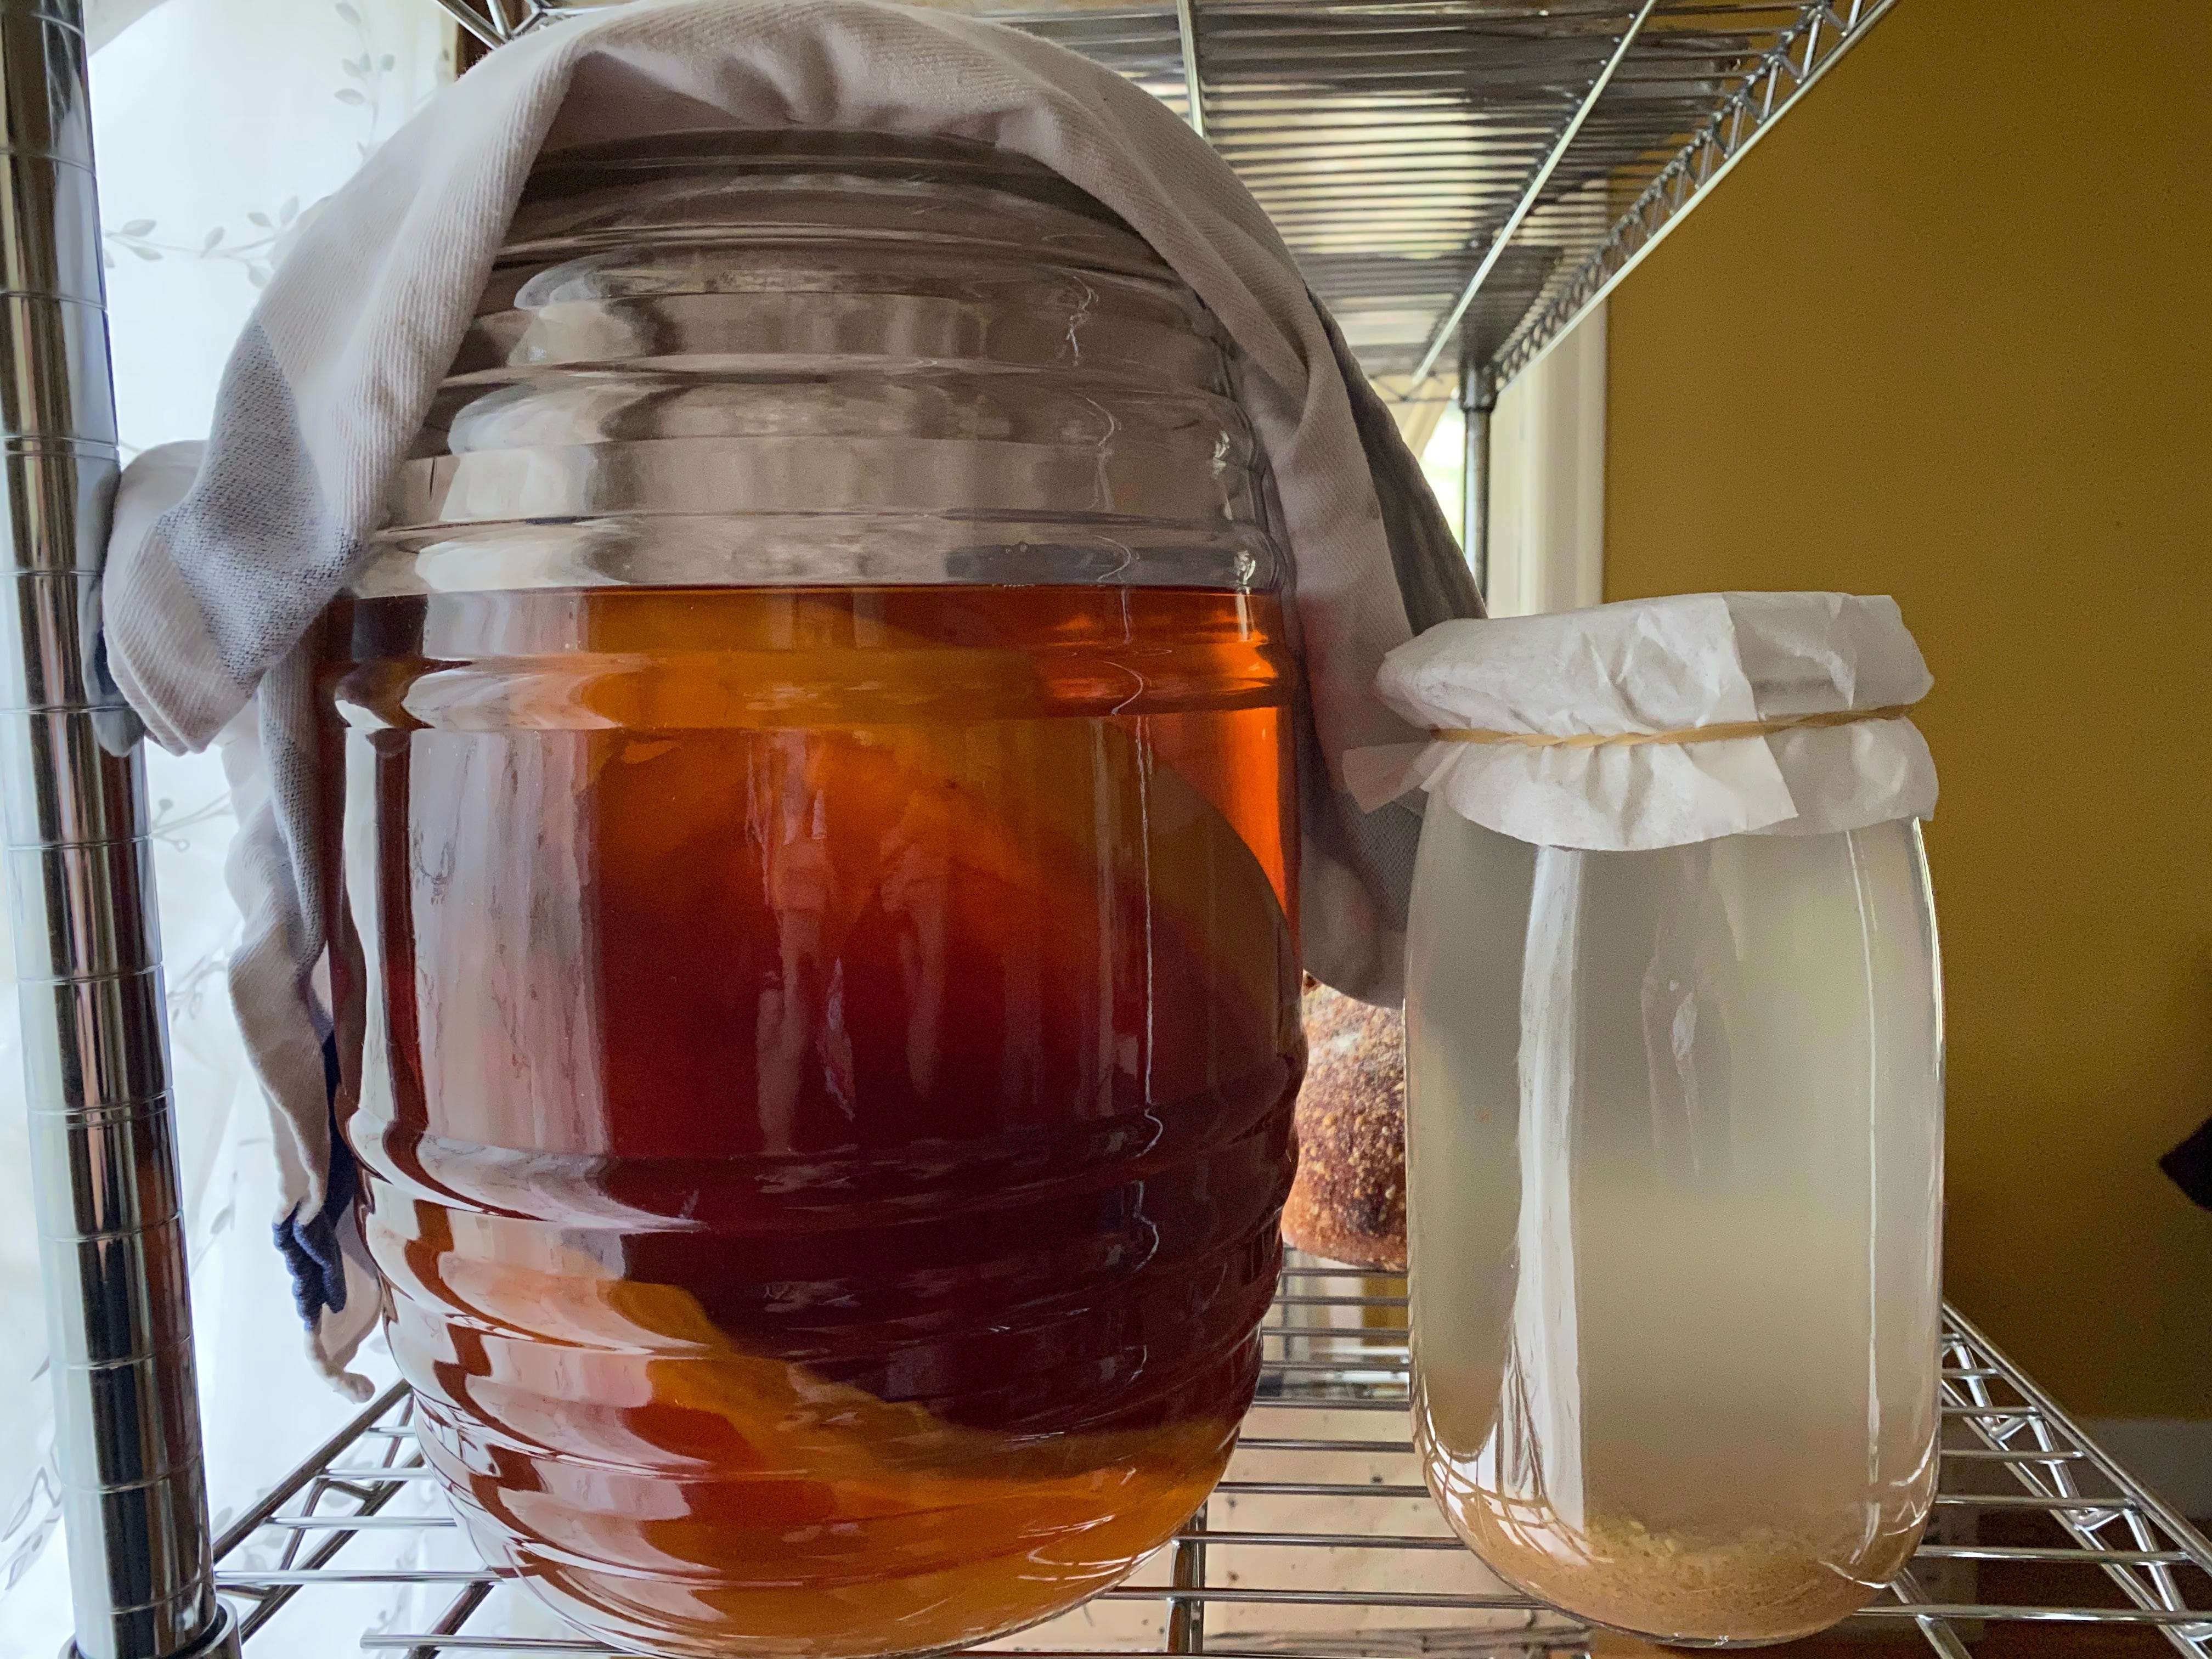
Water Kefir:
Water kefir, also called tibicos, is a fermented drink made using water kefir grains. Here’s a quick and helpful summary from an article titled “An update on water kefir: Microbiology, composition and production” by Kieran M. Lynch, Stuart Wilkinson, Luk Daenen, Elke K. Arend:
“Water kefir is a sparkling, slightly acidic fermented beverage produced by fermenting a solution of sucrose, to which dried fruits have been added, with water kefir grains. These gelatinous grains are a symbiotic culture of bacteria and yeast embedded in a polysaccharide matrix.”
In today’s post, I want to share 9 of the most important things that I learned after making water kefir for almost 10 years. In other words, the things I wish I knew before starting. The things that are actually important and the things I don’t have to worry about. I really hope this helps and motivates you to make your own water kefir!
You will never want to buy soda again. Good luck and as always let me know if you have any questions in the comments.


1. Fermentation is Quick:
Water kefir ferments very quickly compared to things like Kombucha which takes weeks. The first fermentation is only 1 to 2 days depending on how hot it is in your house. This can be a little disorienting especially if you have previously only made Kombucha. My advice is to write down or set a timer, to get used to the new more frequent feeding schedule.
2. Plan Ahead and Don’t Neglect Your Grains
Water kefir grains are more sensitive than a S.C.O.B.Y. or a sourdough starter, and therefore are less forgiving. If you know you won’t be able to feed your grains for more than two days, make sure to put it in the fridge! Starving kefir water grains can cause a lot of damage.
All you have to do is make a new batch of a sugar water solution, and put the grains in the sugar water solution and pop the jar in the fridge. You can leave it in the fridge for weeks. Once you are back from vacation or are ready to make water kefir regularly just remove the jar from the fridge, feed it a new solution of sugar water, and it should be ready in a day or two.
3. Sugar
I like to use Organic Pure Cane Sugar. On days when I find myself without pure cane, I feed it 1 part sugar in the raw (turbinado sugar) and 1 part white sugar. My grains didn’t respond well to brown sugar, but I know folks who use it to give the grains a little boost. Over the years, I learned that doing what works for you is much better than focusing on doing it the “right” way.
I am gonna be honest, it took me a second to figure out what sugar my water kefir grains liked and this could be something you struggle with as well. But I hope this is a helpful place to start and at least gives you a heads up about the potential issue.
4. Where to get grains?
There are a ton of fermentation Facebook groups where people swap ferments. People will mail each other grains or meet up locally to exchange ferments.
I got my first batch of water kefir grains from one of these groups. I gave them some of my starter and they gave me some of their water grains.
Here are some groups as an example to get you started:
https://www.facebook.com/groups/WildFermentationUncensored
https://www.facebook.com/groups/WlidFermentation
https://www.facebook.com/groups/KefirGroup/about
https://www.facebook.com/groups/358190800919913
You could also buy kefir water grains on amazon if you are in a real bind. Yes, they do sell them on amazon now days. You can also usually find them in a homebrewing or winemaking supply store.
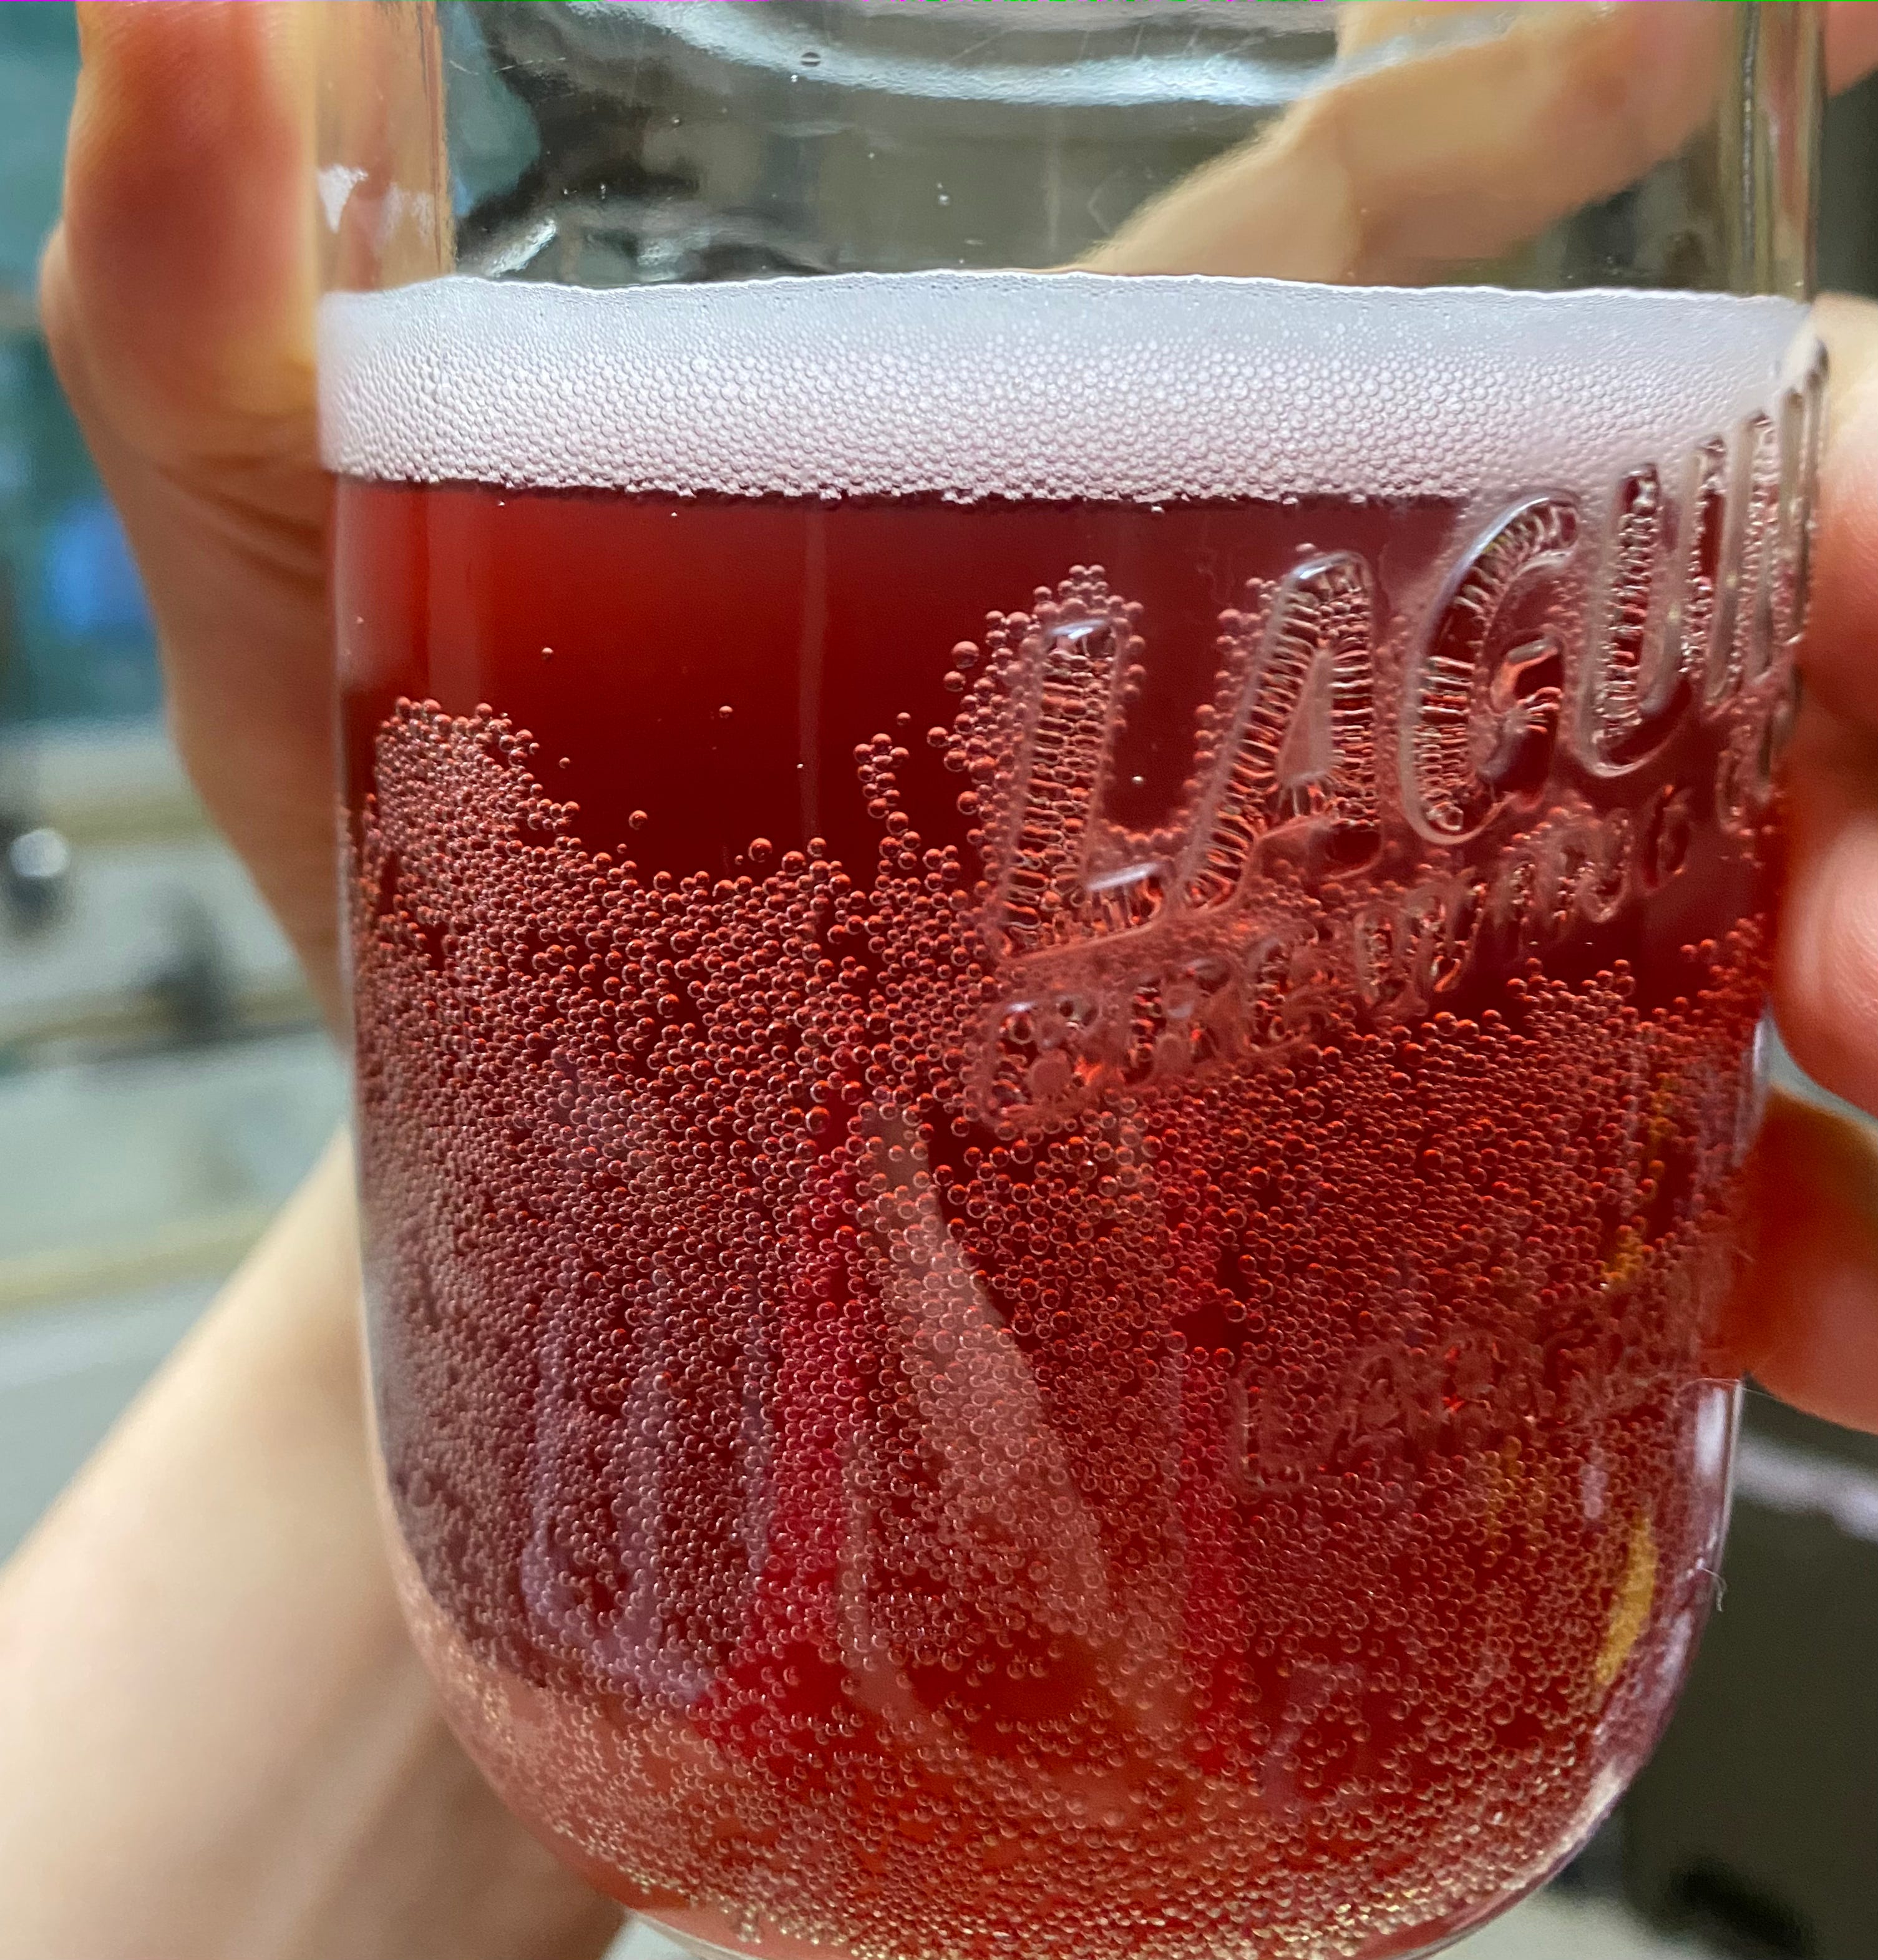
5. Second Fermentation
The second fermentation is when we can add different flavors as well as carbonize the drink. As soon as the first fermentation is finished usually in 1 to 2 days, strain 90% of the water kefir from the jar using a fine mesh sieve to catch any grains.
Now transfer the water kefir into bottles and add fruit to each bottle. I love using sour cherries, blueberries, strawberries, sweet cherries, currants, and lots of ginger!
You can use a glass or plastic bottle that can be tightly sealed hence creating that fizzy carbonated goodness. I personally like to use (and reuse) plastic bottles because they expand and have never exploded on me.
The second fermentation is relatively quick as well. It takes from 2 to 3 days to fully carbonate, if your room temperature is above 78F (25C), things will move pretty quickly so keep an eye on it and check daily.
6. Save A Little Bit of Water Kefir From the Previous Batch
Something that I didn’t see mentioned when doing my own research is leaving a little water kefir from the previous batch to add to the new batch.
In my case, this has worked super well. Similar to kombucha or any starter, we want to leave a little bit of kefir water from the previous batch in with the grains. No need to measure the amount, I just leave enough kefir water to cover the grains, about a 1/4 cup.
7. Why Isn’t Mine Carbonated
This used to happen to me a lot in the beginning. The most common mistake is leaving the water kefir to ferment for too long. I learned this the hard way. When you neglect your water kefir it begins to starve. By the time you try and do a second fermentation there is nothing left for the grains to eat and therefore they cannot produce CO2. Shorten the 1st fermentation and try again!
8. Don’t Give Up
Give yourself a little bit of time to get it right. Depending on your environment and things like temperature fluctuations, the grains can take a little time to get used to their new home. At the same time, don’t force it. Sometimes it is okay to admit defeat.
In the case that you are not having any luck with one batch of grains try using a new batch! This happened to me once. I was troubleshooting for months when all I needed to do was admit to myself that the grains were damaged or unhealthy beyond repair or at least my ability to fix them. It’s okay to mess up. Get yourself another batch and try again. I promise it will work.
9. Yes, You Can Use Frozen Fruit!
You can absolutely use frozen fruit to make water kefir. If you have a large harvest from the summer this is a great way to use up frozen fruit! The exact quantity of fruit is not super important. It honestly depends on how fruity or sweet you like your water kefir.
How to Make Water Kefir:
The formula is super simple, 10% sugar is the sweet spot. I learned this from a baker in the UK, Piotr Lesnianski.
Tools:
1 liter or 32 oz jar
4 cups measuring cup or large mixing bowl
Coffee Filter
Rubber-bands
Fine-Mesh Sieve
Some folks say to not use a stainless steel fine-mesh sieve, I have never had any issues and I have been using one for almost a decade.
Ingredient List:
100 grams sugar
1000 grams water
water kefir grains
50 to 100 grams frozen or fresh fruit
Method:
Place water kefir grains into a clean jar.
In a separate vessel, measure out 100 grams sugar and cover it with 1,000 grams water. Stir until the sugar is fully dissolved.
Once the sugar is dissolved, pour the solution over the grains.
Cover the jar with a coffee filter and secure it with a rubber-band.
Let ferment at room temperature for 24 to 48 hours in a dark place or away from direct sunlight! If you start seeing fizziness in the jar that’s a good indicator it’s done. If the solution is still overly sweet, it needs more time.
Once fermentation is done, drain 90% of the water kefir.
Now bottle the drained water kefir and add a handful of frozen or fresh fruit. Seal tightly and fermented for another 2 to 3 days.
Once you reach your desired level of carbonation, move the bottles to the fridge.
Rinse and repeat!
Cheers!


Learn How to Make Water Kefir